What Causes Water Damage Inside Walls And How to Repair It
Views : 780
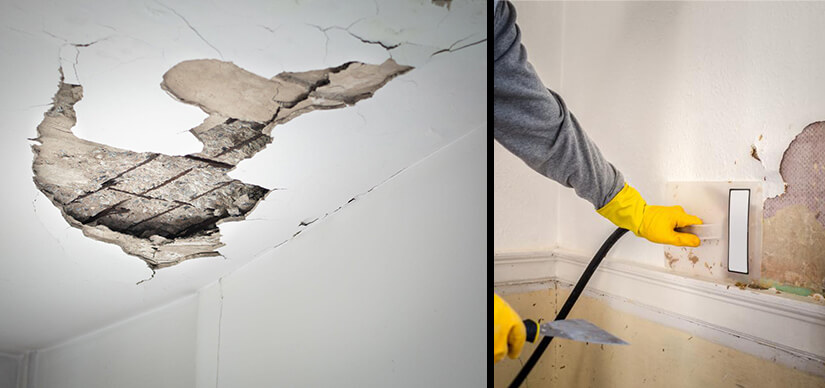
Home and business owners in Eastvale, CA, or any other location may experience serious issues caused by water damage inside the walls
Water damage inside the wall can threaten the structural integrity of your home. It can also lead to serious health risks, foul smell in the home, and even mold growth
In the end, this will require water damage restoration in Eastvale.
Knowing how to handle water damage repair in Eastvale can help you save money and time in the long run. To move forward, it is important to understand what interior wall water damage is, how to recognize it, and what causes it.
What is water damage inside the wall?
When water seeps through a building’s walls and damages its internal structures, the term “water damage inside walls” is used.
Several factors, such as leaking roofs, burst pipes, defective plumbing, or natural disasters like floods, can cause this kind of damage.
The internal building structures can sustain serious damage when water seeps through the walls.
Water can seep into the drywall, framing, and insulation, weakening and degrading them over time. If left unattended, water damage inside walls can result in the growth of bacteria, mold, and mildew, which can be dangerous to the health of the building’s occupants.
Water stains on the walls or ceiling, bubbling paint or wallpaper, musty odors, and warped or discolored drywall are all indicators of water damage inside walls.
To stop additional damage and mold growth, it’s critical to address the situation as soon as you notice any of these symptoms.
Causes of Water Damage Inside Walls
Plumbing Issues
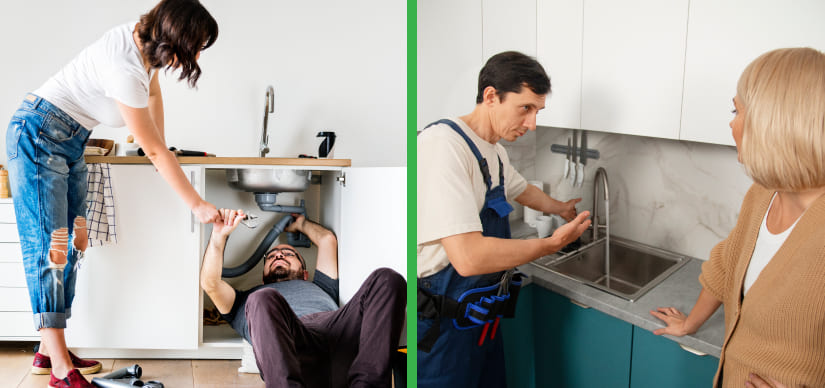
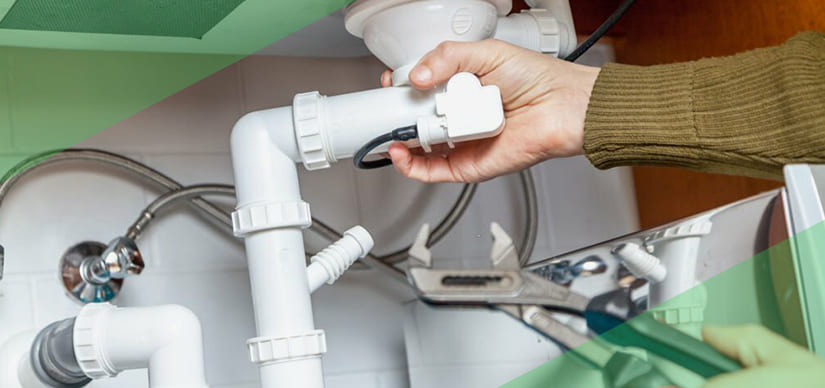
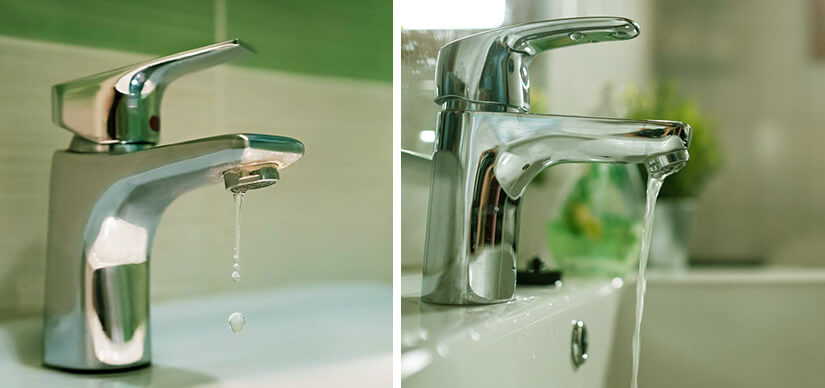
Plumbing issues are one of the most common causes of water damage inside walls. Leaky pipes, burst pipes, and faulty plumbing fixtures can all lead to water damage.
To prevent plumbing issues, have your pipes inspected regularly and fix any leaks as soon as possible.
If you notice a sudden spike in your water bill or a drop in water pressure, it may be a sign of a plumbing issue.
In such cases, it’s essential to call a professional plumber in Eastvale to assess the situation and make any necessary water damage repairs.
Roof Leaks
Roof leaks are another common cause of water damage inside walls. If your roof is damaged or has missing shingles, water can seep through and penetrate your walls, causing damage.
To prevent roof leaks, inspect your roof regularly, especially after severe weather events. Replace any damaged or missing shingles immediately.
Foundation Issues
Foundation issues can cause water to seep through walls and into your home or business. Cracks in the foundation or improper drainage can cause water to accumulate around the foundation, leading to water damage inside walls.
To prevent foundation issues, have your foundation inspected regularly and address any issues as soon as possible.
Natural Disasters
Natural disasters, such as floods and hurricanes, can cause significant water damage inside walls. While it’s impossible to prevent natural disasters, you can take steps to prepare for them.
Install flood barriers and ensure that your property is adequately insured against natural disasters.
How to Repair Water Damage Inside Walls
Repairing water damage inside walls can be a difficult task, but it’s crucial to take care of the problem right away to stop further damage.
The steps you can take to fix water damage inside walls are listed below.
Step 1: Identify the Source of the Water
Finding the source of the water is the first step in repairing water damage inside walls. Is the source a dripping pipe, a leaky roof, or something else?
Finding the water’s source will enable you to stop further harm and make the required repairs. A critical first step in repairing water damage inside walls is locating the source of the leak.
How to locate a water leak is as follows:
Look for Visible Signs of Water
Search for obvious indications of water as the first step in locating a leak. Look for water stains, discoloration, or bubbling paint or wallpaper on the walls and ceilings. To find the leak’s source, follow the trail of water stains.
Check Plumbing Fixtures
Check the fixtures for any leakage if you think the leak is coming from a plumbing component like a sink, toilet, or bathtub. Check the area around the fixture for any drips, puddles, or wet spots.
Inspect the Roof
If you suspect that the water leak is coming from the roof, inspect the roof for any signs of damage, such as missing or damaged shingles, cracks, or holes. Look for water stains or discoloration on the ceiling or walls near the roof.
Check the Attic
If your home has an attic, look there for any evidence of water damage, such as wet insulation or water stains. To find the leak’s source, follow the trail of water stains.
Use a Moisture Meter
If visual inspection is unsuccessful in locating the leak, you can use a moisture meter to find moisture levels in the walls or ceiling.
By pointing out areas with high moisture content, a moisture meter can assist you in finding the leak’s source.
Once you have located the water leak, you can take the necessary steps to repair it. First, remove the water-damaged wall.
If you’re not comfortable finding the leak on your own, it’s best to hire a professional for water damage repair in Eastvale to help you.
Step 2: Removing The Water-Damaged Wall
Removing water-damaged drywall is a crucial step in repairing water damage inside walls. Here’s how to remove water-damaged drywall:
Wear Protective Gear
Before removing water-damaged drywall, you should wear protective gear, such as gloves, goggles, and a dust mask, to protect yourself from dust and debris.
Cut Out the Damaged Area
Using a utility knife or drywall saw, cut out the damaged area of the drywall.
Cut a rectangular or square shape around the damaged area, making sure to cut through the paper backing of the drywall. Make sure to cut out any wet insulation behind the drywall.
Remove the Damaged Drywall
Once you’ve cut out the damaged area, carefully remove the drywall by pulling it away from the studs or framing. Make sure to remove any remaining screws or nails from the studs.
Clean the Area
After removing the damaged drywall, clean the area with a mixture of water and bleach to prevent mold growth. Let the area dry completely before installing new drywall.
Step 3: Install New Drywall
Measure the size of the hole and cut a piece of new drywall to fit the hole. Secure the new drywall to the studs using screws or nails. Make sure the drywall is flush with the surrounding wall.
Tape and Mud the Seams
Using drywall tape and joint compound, tape and mud the seams between the new drywall and the existing wall.
Let the joint compound dry completely before sanding and applying a second coat.
Sand and Paint
After the joint compound is dry, sand the area smoothly and apply a coat of primer and paint to match the surrounding wall.
It is best to get assistance from a professional water damage repair company for water damage repair and restoration in Eastvale if you are uncomfortable removing water-damaged drywall on your own.
They have the skills and tools required to effectively and safely remove water-damaged drywall.
Conclusion
Water damage is a serious problem that can cause structural issues, mold growth, offensive odors, and health risks.
Plumbing issues, roof leaks, foundation issues, or natural disasters can all contribute to this damage. To stop further damage that might lead to expensive water damage restoration in Eastvale, and save time and money, water damage must be dealt with as soon as it is discovered.
Finding the leak’s source is the first step in the process of water damage repair in Eastvale. The drywall must be removed, the area must be cleaned to prevent mold growth, and new drywall must be installed.
Professional plumber in Eastvale from EZ Plumbing USA can assist, and maintaining the integrity and safety of your home or place of business depends on taking preventative measures and responding to water damage quickly.

